Bonus 1:
Classy Clouds: How to classify clouds!
How to classify clouds the basics:
| cloud_classifying.docx |
Cloud Project Fun! Grades K-4
Here is a video of a great project to do with your students to help reinforce the cloud classifying information!
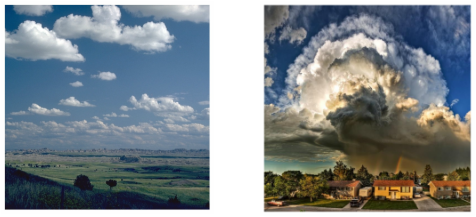
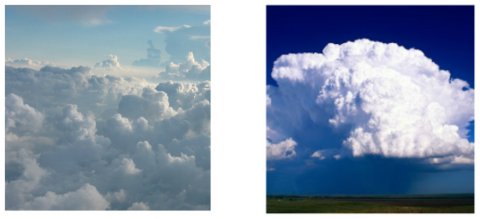
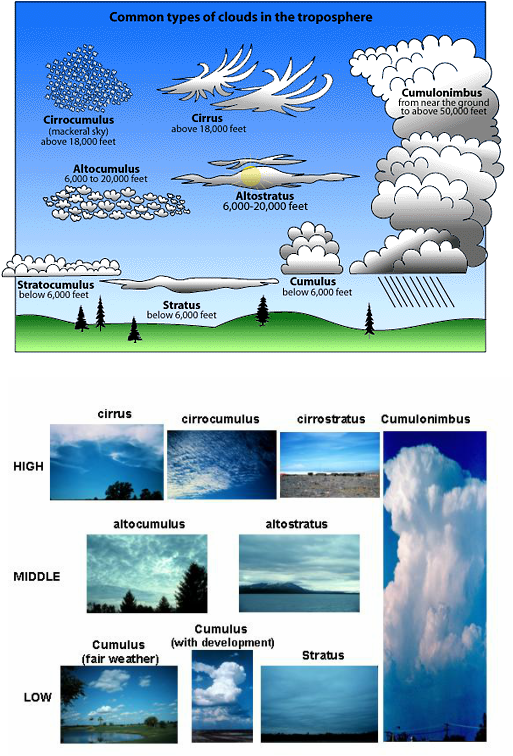
Here are a few charts or diagrams that can help us begin to understand the differences between clouds!
Bonus 2:
Have your students become their own weatherman or woman!
Below is a video of introduction for young students about weather and then a weather wheel craft!
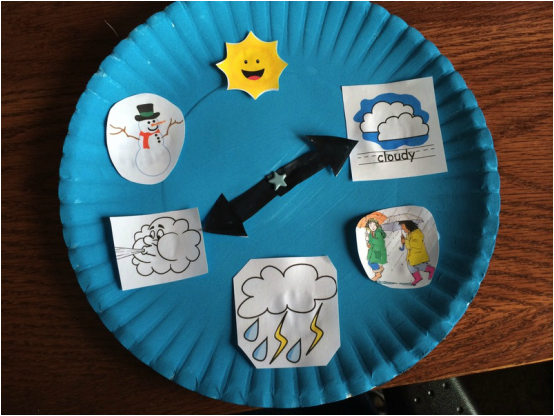
This a very fun way to have your students practice their weather words! In my classroom I think it would be something fun to do each day of the year!
Objective: Students wil learn to look at or forecast weather, they will be able to use "weather words" to describe the weather, as well as get practice with public speaking.
Overview: Students make the weather wheel craft, they then present each day or one day a week, alone or in pairs, to tell the weather of the day or upcoming weekend. To report this they will use the weather wheel.
Materials: crayons or other drawing instruments, paper plates, brads, worksheet (document attached), and water color paints(if you want to go there), scissors, glue sticks
Procedure:
1. Make the weather craft:
i) Pass out worksheet to each student have them complete it, and color it.
ii) Let them show you the completed worksheet then give them a paper plate. Have them cut out the weather and paste them onto the plate.
iii) Once they have completed this, have them bring it up to you and you will give them the brad to fasten on their arrow.
iv) The wheel is now complete!
2. For 1st-3rd: Each day have a pair of students be resposible to "be the weatherperson" that day. What this means is that together they will look outside and come in and report on their weather wheel the weather they saw outside. I would make a place on the board to hang the wheels up and have the students present each day what they saw. This is a fun way to start off the day!
For grades 4th-6th: Have the students prepare a weather report for their day in pairs. since this would be a little more work, students maybe could do it each Friday and give the weekend weather report! This would be more forcasting so the students would have to use online reasources like http://www.weather.com/ to find the weather in the coming two days. One person will report about Saturday the other about Sunday using their wheels.
Worksheet:
| weather_wheels1.docx |
How to make the wheel!
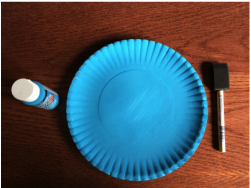
Step 1: Have your students paint the "sky" onto the paper plates. Although the sky isn't always blue, it is just a fun color! Let the paint dry.

Step 2: Print out the worksheet(link above) and cut out each picture.
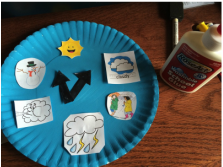
Step 3: Use a glue stick or liquid glue to stick each picture down.
Caution: Don't glue the arrows this wont allow them to move based on the weather!
Caution: Don't glue the arrows this wont allow them to move based on the weather!

Step 3: Use brads/fasteners to attach the arrows. This will allow them to swivel. These brads are stars, but usually you can find the, for a good price at most stores in silver or gold.
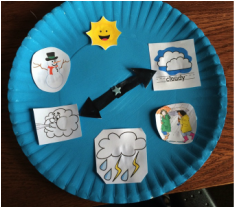
Step 3: Use the weather wheel to share the weather! Have fun!
